Showing posts with label Sea State 12. Show all posts

Thursday, May 14, 2015

Hull #3, 100% carbon fiber

Our first 100% carbon board is sold and off into the world.
The customer supplied a nice Sea Deck pad.  It has great texture and feel.
Other than the pretty pad and colorful grab loops, the board is all black, including deck hatch and 9 inch fin.
Here are some photos:

Becky taking her new board out for a spin!


Curt holding the board in a gust of wind!
Hold on Curt!


Wednesday, April 22, 2015

All Carbon Fiber SUP!!!

After gaining experience with carbon fiber reinforcement in our paddles and blades, we were determined to eventually move away from fiberglass and go 100% carbon fiber as soon as we could.

See this post from 2012: carbon-fiber-molding

With the vast yardage in a SUP we wanted to have the process down pretty well before we committed to the increased material cost.
This year we are doing it.  All of our boards from now on will be 100% carbon fiber.
These are hollow structural skin boards.
No Foam !  No Glass !
We got an order for a board and went ahead and put in a big order with our CF supplier.
Today we pulled our first all CF deck.
Sea State CF12 deck.

Our new roll of CF cloth!

Saturday, August 30, 2014

Photos of our boards on the Maine Coast

Here Eifel is paddling past Victory Chimes, the beautiful schooner at anchor off Stonington, Me.
We had super calm and foggy conditions for our morning paddle.
Click on the image for a higher resolution version.


Hello?


Here is Don in his self built 18 foot wherry.

He kept us on course around Crotch island..

Eifel is enjoying the granite.


Saturday, August 16, 2014

Sup in Casco Bay

Here Christa and TJ are paddling near Yarmouth, Me.
They are on our new carbon 12 footer having fun.


Wednesday, July 30, 2014

Shark gets a fin

Here is the new 9inch fin we just installed on our carbon board.


We finished our first carbon fiber 12 foot Sea State board today.
It is actually half carbon.  The hull is carbon and epoxy and the deck is gel-coated glass set in resin.
A carbon finished deck would be too hot to deal with.
To wrap things up with this board, we added a 9 inch fin.  Here are photos that show how a standard fin box accepts a fin.

Our fin boxes are laminated into the hull and we find and cut them open after the hull is molded.  Once it is cleaned up, the fin attached easily...

The new fin, fin bolt and regular screw driver sit next to the just opened fin box.

This is how the bolt slides into the channel.

Next, the fin slides into the channel toward the front of the box.
You tap the fin forward with the palm of your hand or a rubber mallet.

Next, the bolt screws into the pre-inserted nut and voila, it is done.


Saturday, May 31, 2014

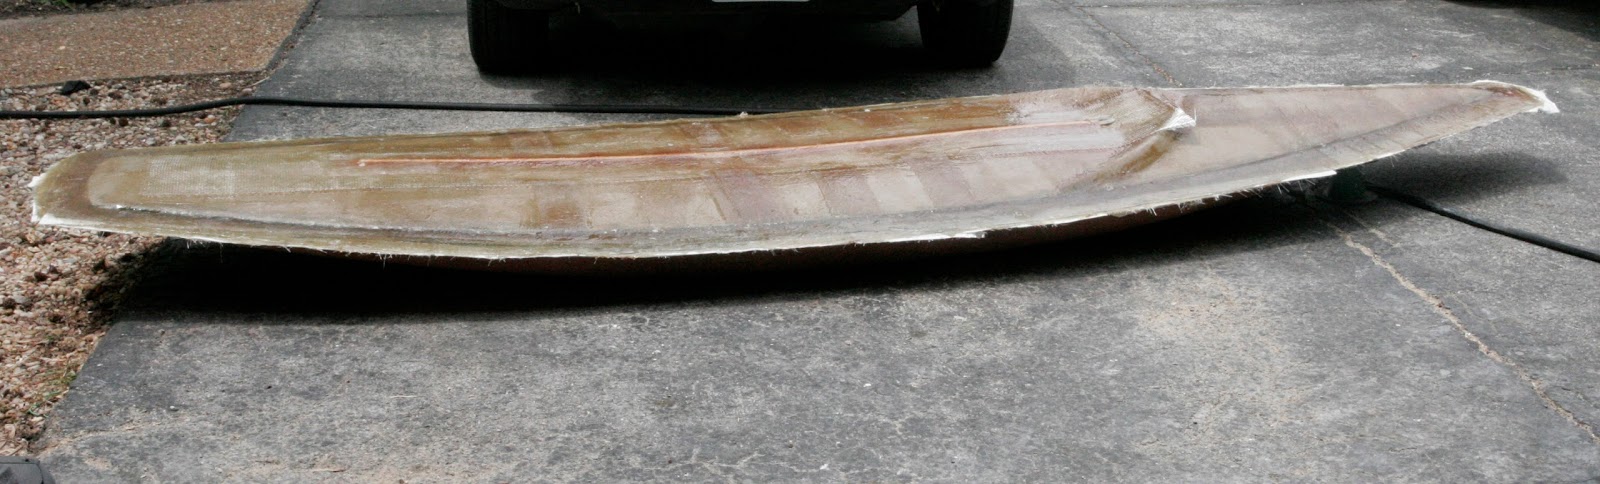
We pulled off a great looking SUP hull

The first part out of the mold looks glossy and fair.
This is a 12 foot long SUP.
We made this part out of layers of 8 oz twill glass cloth.
It has reinforcement on the centerline and at the shear.

We will prep the mold for hull number 2 right away.

Here are photos:

The glass edge will of course be trimmed prior to fitting the deck.


Saturday, May 24, 2014

Deck Mold: glass work

We added the layers of glass to the gel coated mold.
After the resin cured to the touch, we moved the whole shebang out to the mid-day sun.
UV light really speeds up the hard curing of resin.
We plan on stripping the mold off the deck plug tonight.

Curing with Mr. Sun.  The edge of the mold will get cut and sanded so it has a nice edge.

This photo shows the two half molds together.
The board will float in this trim, but 3 or 4 inches lower.

Thursday, May 22, 2014

Deck plug: ready to mold

After many passes of fairing and sanding the deck plug is ready to mold.
This process was about 10 times faster than the hull plug.  The two reasons for this are the hull is a bit more complicated and secondly, the clock is ticking.  Summer is almost here.  We have got to get this thing done.

The photo shows the plug waxed and coated in PVA.  In the morning, we will spray on the gelcoat and in the evening we will start adding glass to build up the mold.

We expect to start building boards next week.


This photo shows the deck plug on top of the hull mold.  You can get an idea of the board's profile from this angle.
It has a slight rocker and a piercing bow.  It will make a great touring board.

Saturday, May 17, 2014

SUP deck plug taking shape...

We have built up the plug for the deck of our new SUP.  We used foam an now Bondo.
It is getting close to the shape we are after.  There will be more sanding and fairing tomorrow, then we will start the gel coat layers.  Like on the hull plug, the gel coat will give us a surface we can bring up to a gloss.


Tuesday, April 22, 2014

SUP Plug: Step #8

Taking it up to a polish.
After a bout of other work, I have been able to spend some time on the plug this week.
Our goal is to make a mold of the plug before Sunday.

This will be the first of at least two molds.
To get there, we need to sand up through the grits to about 1500 grit.
Yesterday, after a little more spot filling and sanding, we achieved the uniform shape we needed.
So today we gave the plug a even sanding with 120 grit paper then 220 paper.
Tomorrow we will do 320 grit dry then 320 grit wet.
Each finer pass we will do first dry then wet.
After we get to 1500 wet, we will use buffing compound and a wool pad to bring it up to a mirror finish.


Monday, October 28, 2013

Shaping the next SUP in our line: Step #1

This weekend we started the process of forming a plug to make a mold to make out next line of SUPs.
The plan was to make some improvements that would allow us to make a hull that is more rigid, lighter and a little more graceful.

The new hull form is that of a flat water touring hull.  This is a displacement hull. This means a long form, low rocker and a water cutting bow. SUPs that are used in surf become planning hulls and benefit from rocker and being as short as practical.  All SUPs that are not being used this way (95 + %) are displacement hulls whether they are designed this way or not.

Our new board started out with these concepts in mind and this sketch:
From this start we began to loft the shape onto ply.
We have worked out a process to get to the plug.
Here it is...
We first get a ply material.  Of course, the plug never gets anywhere near water, so almost any ply will work.  In the past we have used masonite, this time we are using OSB.
We use battens to draw on a half profile.  This is one side of the board up to the centerline.
We use the machine edge of the ply for the center because it is reliably straight.
Once this is cut we use a hand planer to smooth the outer profile.  Then we use this shape to cut out it's other half.  These two halves are then affixed to the molding surface.

Because the length of the board is longer than standard sheet goods, we have to sister together the parts.  We do this by adding a ply piece on the underside with glue and screws.  This makes a stiff spot in the bendable ply but if it is in near the middle of the board this is not a problem and will be sanded and faired away.
This is the lap joint.
The next thing we do is to make a surface which mimics the shape of the eventual deck of the SUP.
We do this by bending an oversized piece of ply on saw horses.  The extra width provides a place for the flange of the mold.  The plug is formed right up to this plane and when the parts come out of the mold they have this same curved shape that will accept the deck.  Here some photos:
This is the sistered together half board profile.  It is  11 feet  9 inches.
Once the fairing is complete, the board will grow to an even 12 feet.

Here is the deck molding surface.  We introduced some rocker into this plane for fun and beauty.  The half shape is being affixed with specific heights and with a taper.


The thickness of the board is determined by this height.  We have set the maximum thickness of this SUP at 5 inches.
This shows the two halves set on the centerline.
A bit of material was removed on both sides in the rear.
They are screwed down flush at the tail and nowhere else yet.
When the bow is pulled together, this introduces a
little pucker which gives the hull a 'v' profile.
A sistered board underneath holds it together.
Then shims and screws are used to support this
shape.