Sunday, December 27, 2015

Hydro: Surface Prep

We got the hydroplane outside so we could begin surface preparation.
There will be a great deal of sanding and the weather is nice.  It's good to get out of the shop.
Today we trimmed off the excess glass cloth, sanded the entire exterior and vacuumed the boat off.
The sanding was done with 80 grit.  This is a good aggressive grit to prep for the needed surface fairing.
Here are photos of the current state of the hull:


Friday, December 25, 2015

Hydro: skinning the deck

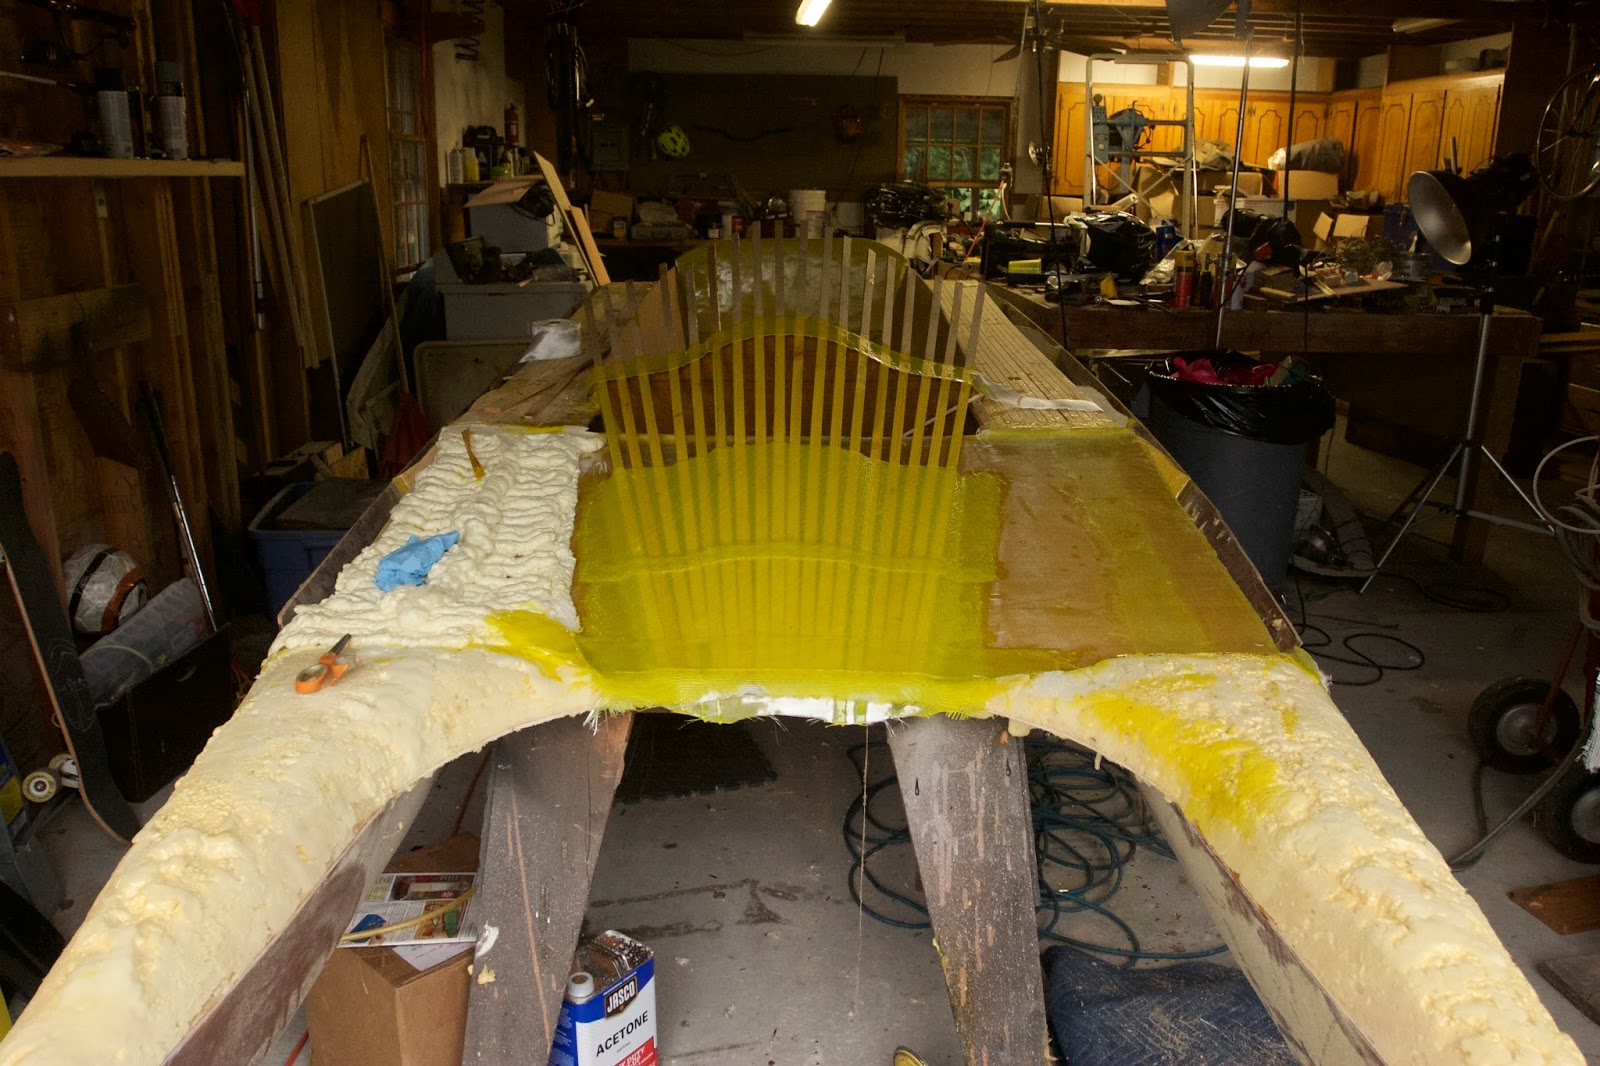
The last couple of days we have added two layers of 9 oz glass twill set in epoxy.
Prior to this step we had spent several hours adding fairing material to the rough shaped foam.
Additional fairing will be needed after the cloth work is finished but these coats will be much thinner.
To get to this point we were adding serious amounts of fairing material to match the shapes of the pontoons.
In past projects I used Aerosil.  This is the brand name of a colloidal silica product.  I purchased a large volume of it and used it for fairing, structural bonding and fillets.  It is not best suited for fairing because it is harder than proper sanding additives.
Because this project was going to require a large amount of fairing, we ordered a big quantity of phenolic micro balloons from Raka Supply in Florida.
I love this stuff.  Colloidal silica is super light and gets airborne very easily. A respirator is mandatory and the stuff feels weird if you get it on you.  It is also hard to mix into epoxy.
The micro balloons almost absorbs the epoxy like a sponge.  It also doesn't go airborne, but is also feels weird.
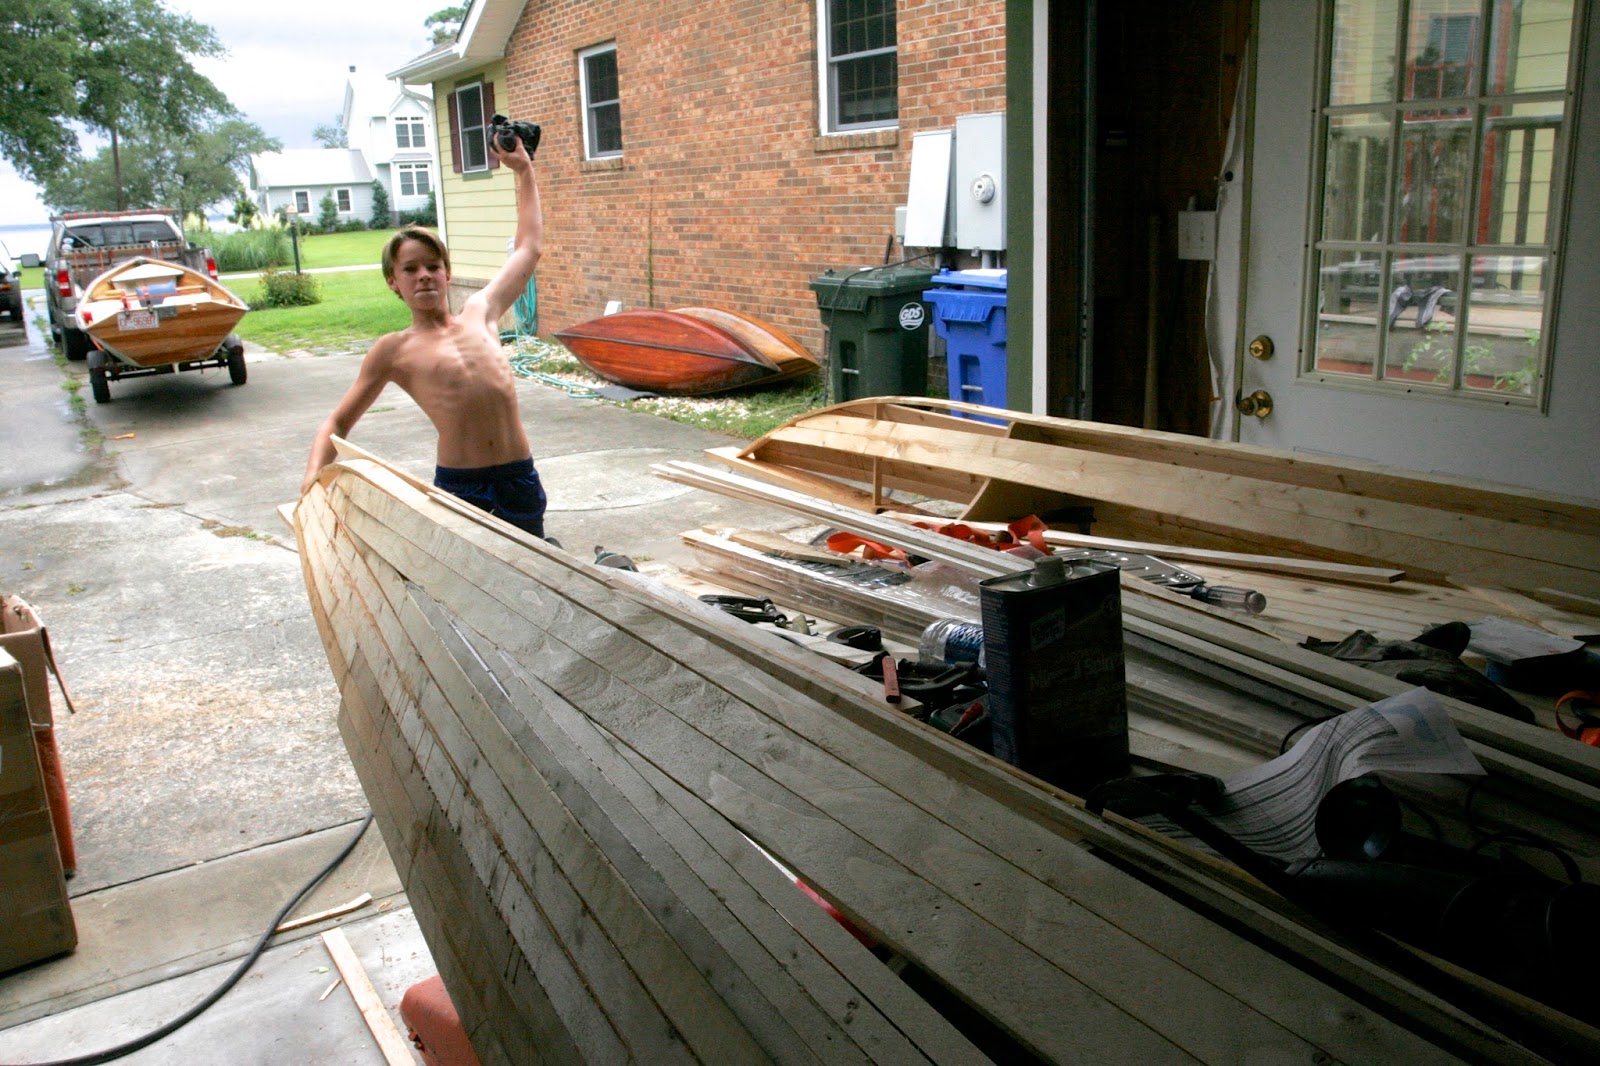
Here are some photos of these steps...


phenolic micro balloons


Sunday, December 13, 2015

Cooler water temps and good fishing

Today our sons had a good outing in the skiff.
The summer fishing was poor but with the cooler water temps, we have seen the locals out.
In a short time the boys pulled in a Red Drum and a Speckled Trout.


Saturday, November 21, 2015

Hydro: Reworking the pontoons

We spent some time trying to get the pontoons to have an identical shape.  It was a bit tough as we are are sculpting them individually.  To solve the problem, we used a batten.
The batten provided us a fixed reference point off of which we had something to measure and sand the pontoon shapes with a good degree of uniformity.
In the photos below you can see how the batten is used and the steps involved in the process...

This is the port pontoon.  The batten is visible. We cut a slot in the foam from the bow back about 5 feet.  The batten is set in the slot and epoxied in place.  On the starboard side and identical batten is used stretching from the same two exact points.
On top of the 2 part foam we added spray foam to build up the shape we wanted.


We then disk sanded down to the batten and from this edge we were able to form the correct shape.
Phenolic modified epoxy is then used to smooth out the rough sanded shape.
After the whole pontoon is coated with this material, an orbital sander will be used.
After the sanding we will then glass the surface and overlap the hull bottom to seal up the pontoon.
To slowly remove the foam, we are using a variable speed sander set at the slowest rpm.  This allows more control.

Sunday, November 15, 2015

Hydro: bits and pieces

The deck of the hydroplane is taking shape.
We have formed the cockpit and combing.  The front fairing is getting closer to the final shape.
This week we stopped at a store in Oriental called Marine Consignment.
It is a great old shop with a crazy collection of nautical parts.  There are a lot of sailboat parts and various odd items.  One thing they have new this week is a bubble glass cockpit that was ejected off a fighter jet.  This was pulled from the Neuse river and was probably last airborne in the 1960's
I will try to get a photo of it to post this week.
We also found some bits for the hydro.....
The hydro is about 14 feet LOA. We will pull out the tape and check it after all fairing is completed.
A great wheel...
A great seat...


Stainless u bolts for the transom...

a bow eye...

The transom is a lamination of three pieces of 1/2 inch birch ply.
When we are done, it will be glass sheathed, faired and painted.
The u bolts will be set high and wide on the transom for pulling skiers and for any hoisting and securing needs.

Sunday, November 8, 2015

Hydro: top sides shaping

The hydro's top sides are being designed in place.
We had a overall idea of the form of the deck before construction began.  Once we had the hull to work with, we began building the needed structural reinforcements. With these in place, we started  shaping with the leading edge of the pontoons.
These were filled with 2 part 2 pound foam.  We are using a rough grit disk sander to shape these.
Today we started forming the cockpit fairing.  To do this we cut a radius on a thin piece of ply and epoxied it in place.  We used this to hold pine battens.  These were resin coated and stapled in place.
Over these, we are adding layers of heavy biax glass.
After the pontoon foam and cockpit fairing is satisfactorily shaped, the whole deck surface will get a lamination of glass cloths to bring it up to strength.


Thursday, October 29, 2015

Hydro creeping forward

We have recently been working on the decking and top sides of the hydro on evenings and weekends.  House construction is taking most of our time. There are no good photos yet of the top sides but we will wheel it out to the sunshine and get some this weekend.
Here is a month old image of the glass skin being affixed to the sponsons...


Sunday, October 4, 2015

Flood Tides

Joaquin is hammering Bermuda and historic flooding is taking place in South Carolina.  Here on Pamlico Sound, we are experiencing a wind driven surge.  When steady wind blows from the North East, water is driven into the sound's inlets along the outer banks.  The water has nowhere to go but up.  Right now it is at 3.9 feet above normal sea level.  The wind is expected to blow all night at 25 knots.  We shall see in the morning how much additional water plies on.
Here is a photo of our skiff in our slip.  There is about 6 inches of water above the dock planking.


Thursday, September 24, 2015

Cape Lookout!

Cape Lookout is a short day trip from Oriental. It took about 2 hours total to get there and this includes 2 ferry rides.  The first ferry was from Minnesott Beach to Cherry Point.  This is a car ferry across the Neuse river.  The second ferry is a passenger ferry from Harkers Island right up to the Cape Lookout lighthouse.
You pack in what you want for the outing and pack it back out.  There are no trash facilities or food on the island.  This is great because it makes it more of an adventure.  There are some nice paths through the dunes and sea oats on the island.  It is about 1/2 a mile wide where we landed.  After a couple of hours on the Atlantic side, we got some of the last tickets to climb the lighthouse for the season.
The current lighthouse was built in 1859 and is quite impressive. It is solid masonry construction with a 10 foot thick wall at its base that tapers on the exterior down to 2 feet at the top.  It is 163 feet tall and very windy at the top!


Thursday, September 17, 2015

Town and Country...

Oriental, NC. is a great mix of things, beautiful waterways, friendly people, great seafood, small town charm and wildlife.  People will stop you on the street to talk.
The wildlife sometimes comes right on in to visit or maybe hack into your computer.
Check this fellow out.  He crawled down the chimney at 3:30 on Monday morning.
The dogs started barking.  It was a bit of a shocker.
Meet Mr. Raccoon: the original hacker.
Somebody needs a hug.

Saturday, September 12, 2015

Hydro: Glassing

After an initial sanding of the hull, we glassed the flat part.  We used some heavy bi-axiel glass from our scrap bin.  A little more fairing was needed on the pontoons.  This was done last night.  Today we sanded the fairing material out then started adding a layer of mid-weight twill glass to the pontoons.

We have 10oz twill cloth that overlaps the bi-axiel on the bottom.  Once we glass the other pontoon the center of the flat will have one layer of 17 oz bi-axe and 2 layers of 10 oz twill so 37oz of glass.  additional reinforcement will be needed on the interior of the pontoon/hull joint.  There will be great stresses here at speed. We added red pigment to the epoxy for fun.  The finished boat will be red.


Thursday, August 27, 2015

Hydro: Stripping

We are in a big hurry to finish this boat.  It will be skinned in glass and painted.
No fine carpentry here, we are keeping it real and stripping it with pine.
The bottom of the hull will be done tomorrow and we will begin sanding and glassing...