Showing posts with label keel timber. Show all posts

Thursday, February 12, 2015

Square Meter: Back at it.

After a brief hiatus, we are back on the square meter job.

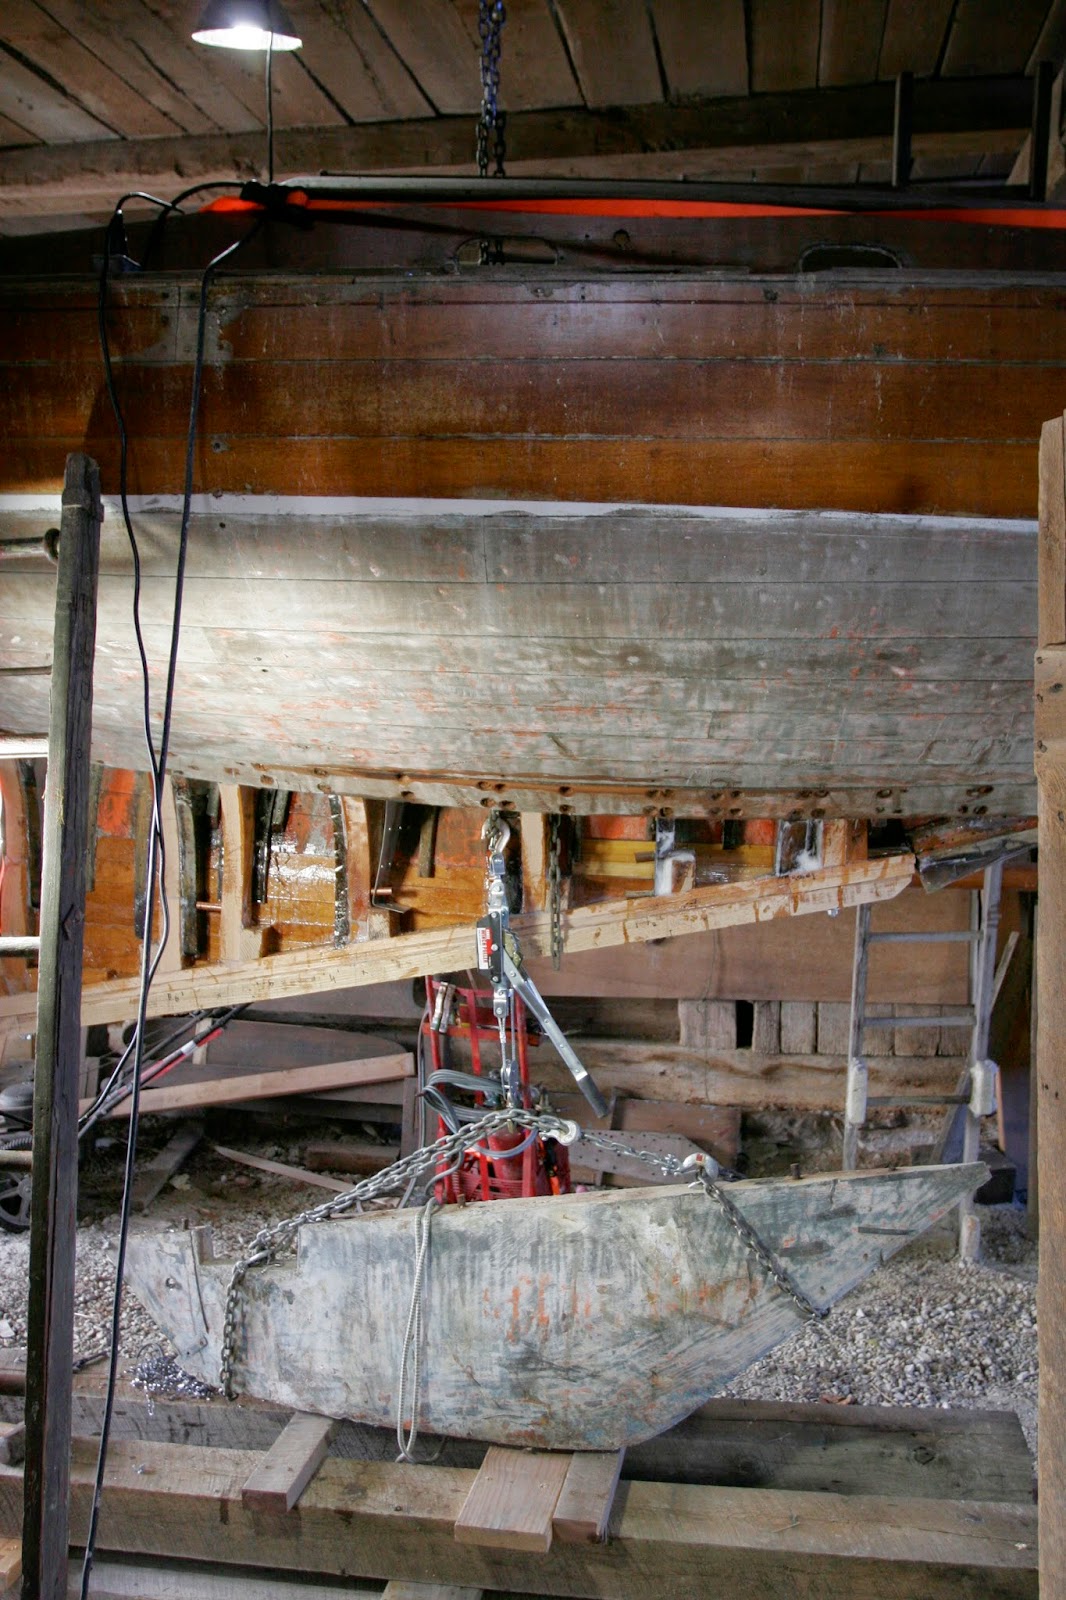
We eat our wheaties for this project.  We needed to drag the lead keel across the barn, position it under the the suspended boat, spin it around and then hoist it off the ground.

While we used cable come-alongs, this was exhausting.  Now the lead is in the correct orientation and we are able to verify the alignment on the keel bolts.  We have begun drilling the bolt holes.  New 316 stainless bolts have been ordered from Marsh Fasteners.
Once these arrive, we will install them and begin the final lift to the mating surface of the keel timber.
The starboard side planking is not installed yet.  This will facilitate the keel installation.
Here are some photos...


A chain attached to the the barn's superstructure allows us
to lift the keel lead close to position through the opening in the hull framing.


Monday, October 20, 2014

Rebuilding the Square Meter: fitting the keel timber

We took the keel home to our shop to do a little work on it.
We laminated on an additional 1 x.  This will strengthen it and enlarge the rabbet.  This will help when it comes time to plank.

After the epoxy set up, it was back to the barn to fit it.  The framing tails were built a little long so we snapped a line and cut them.

Once the keel was set in position, it allowed us to fit in blocking for the keel bolts.  These blocks raise the bolt head up a bit in the bilge. They also are cut with a bevel to provide a flat level surface for the bolt nut.  Additionally they provide a little more beef to hang the lead keel on.

Here are photos with descriptions.


Here is the keel with the additional lamination of oak.
It is 5.5 inches wide at it widest point and about 3.75 inches thick.

This is the stern end.  The rabbet is now about 1.5 inches wide.  The funny looking ends will be whittled in place.

We used thickened epoxy with hardwood pegs for all the laminations.

The is the underside.  It will receive the lead keel.


The frames are beveled to fit the keel.  Blocks are added for support for the keel bolts.
The keel will be through bolted to the frames and the lead ballast will be through bolted
to these blocks.

When the keel bolts are installed, this will suck up nice and tight.

The bottom end is taking shape.

Wednesday, September 24, 2014

Rebuilding the Square Meter: paint stripping

After 4 passes and 6 gallons of paint stripper, we have started to see the strengths and weaknesses of the hull.  This is a race boat and is built accordingly (light).  This is good for us.  The ribs will be easy to duplicate.  They are thin laminations of steam bent oak.  The lower braces are heavy oak but are not very large.  These will be recut out of 8 quarter oak and either directly replace the originals or be sistered in alongside the originals.
Here are photos of the work to date:
The stripped cockpit.  We used stripper to both remove paint layers in the bilge as well as to remove the canvas deck adhesive.

The most recent paint layer was battleship grey.  The early layers were way nicer.  A pale blue layer covered the original orangy red.  Now that's a factory color!


It looks nasty now.  Just wait.


Here is the cut out keel timber,  The top has a rabbet for the planking, the bottom is flat to receive the lead keel casting.
We are duplicating this piece out of oak.  Here is a piece of 8 quarter (2 inch thick) oak.  Additional oak will be pegged and epoxied on to build up the shape.

Here is the big oak passing through the Silver Band Saw.   Finally a piece  of wood
that is the right scale for the saw.  The saw ate through the wood like nobody's business.

Here are two pieces of new oak that we saw cut to shape.  Tomorrow we will bond them together
and continue forming the part.