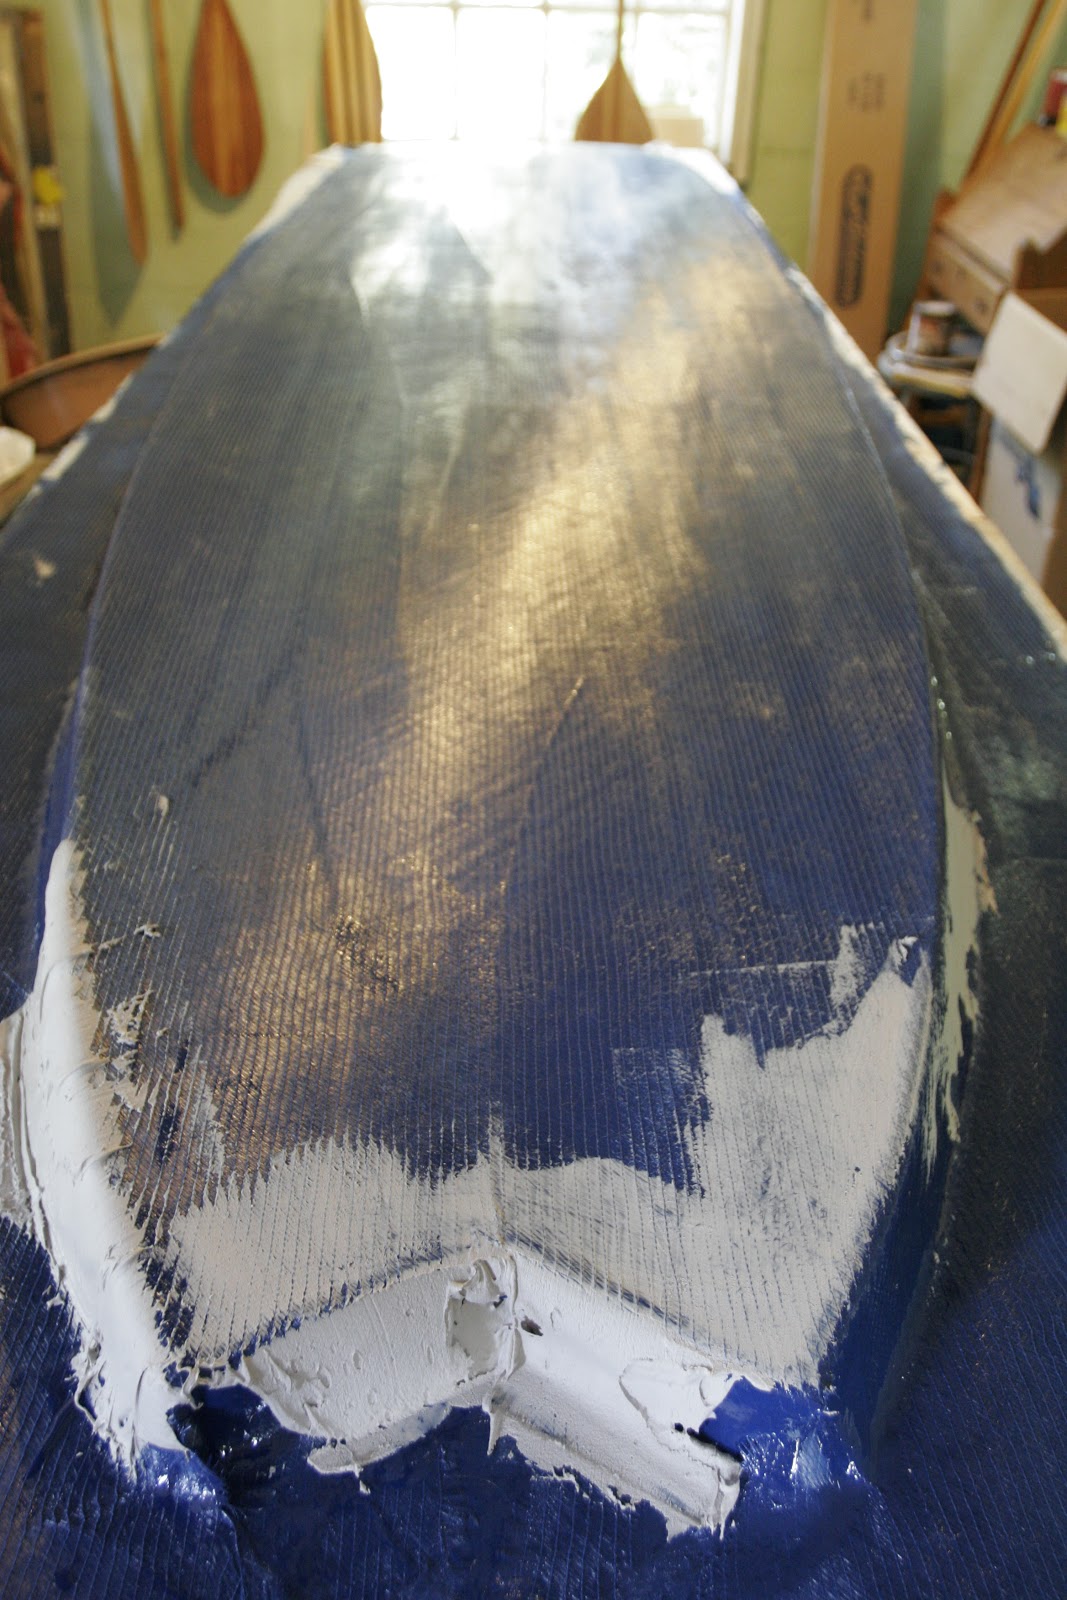
Yesterday evening we sprayed on a second layer of gelcoat. The fairing process is getting very close. With this last coat we changed colors. When sanding it allows you to see when you are through the top coat. We have a couple of spots we are going to fair out then she will be ready to polish.
Friday, September 14, 2012
Tuesday, September 11, 2012
Paddle Board plug fairing
Today we spent some time fairing the plug for the paddle board. It was first formed with 1/8 inch ply. bi-axiel glass cloth and resin. We then formed the rails with fairing compound and lots of it.
Once it got close, we gel-coated it. Getting the plug back to a uniform color with gelcoat helps in the fairing department. It is easier to see problems. So today we re-faired and tomorrow it will get another gelcoat layer. At that point we should be getting real close to polishing time.
Monday, September 10, 2012
Carbon Fiber molding
We have worked out all the kinks in the carbon fiber molding of our Cahokia blades.
The blades are made with a 6.2 oz large checkerboard weave carbon cloth.
Initially we where having bubbles in the finished surface that required either rejecting the part or costly finish re-work time. Our improvement came when we modified our vacuum form to pull the bagging film from above the part with no breather material.
It progressively clings to the part and does not trap air.
The parts spend little time in the vac because we still have Missouri summer weather. We pop them free and set them in the sun to finish curing. We will shortly get on the shaft mandril form. That will be fun to figure out.
Stay tuned...
Sunday, August 26, 2012
SUP paddle blades shipped to Hemel
Last week we shipped out the first set of sup paddle blades to Hemel Board Company in Seattle.
Steve DeKoch's company is busy building a delivering their line of SUPs and we are able to supply a co-designed blade to their shop.
The first shipment included 4 glass cahokia blades in blue and 1 in carbon fiber. These blades fit on a 1 &1/8 inch (id) shaft. We bought shafts from Nimbus paddles for our camp order and Hemel will most likely use these as well.
We are currently building a mandril to spin cast our own shafts, but this will take awhile to perfect.
We will post some photos of it as it gets closer to completion.
The blades have Hemel branding.
Also included was a set of handles and a handle display.
Monday, August 20, 2012
Summer boating: Dauphin Island
We headed down to the Gulf Coast for a family getaway. Once again the skiff sat on the sidelines. We rented a van and couldn't tow it. But we had some great times with our two kayaks. Dauphin Island, Alabama was our destination. It is a great place. Lot's of rental houses as well as year round residence. No big commercial condo buildings and lots of great fishing.
We rented a house on the bay side of the island and it had water access.
Here are some photos:
We rented a house on the bay side of the island and it had water access.
Here are some photos:
| Indian shell mound park |
| This hill is made of oyster shells, hundreds of thousands of oyster shells. |
| Spanish moss on a live oak (also known as goat trees) |
| Paddling out to the sea marker. |
Wednesday, August 15, 2012
Mississippi River Skiff: Outer Gunwale
The Mississippi River Skiff is getting a few finishing touches. Yesterday we installed the outer gunwale. It is composed of two trim profiles cut out of Poplar. The first piece covers the glass skin of the hull and wraps around to the inner gunwale. On top of that is set a half round of Poplar.
These were epoxied to the hull.
Friday, July 27, 2012
Sea State SUP
We are building a flat water SUP. We have had fun using some Hemel's and a few lesser brands. But, it turns out it is less expensive to build the plug, mold and board than buying a decent SUP, so we are going into production.
Since this board will be built and sold in the midwest, we designed a board for flat-water use. It has a longer flat mid-section, no overall rocker and just a bit of nose and tail lift. The dimensions will be 10'10" with a beam of 31".
St. Louis Sail and Paddle has asked me to teach a couple of boat building classes this winter.
This SUP will be built as a hull with the option of a strip built wood deck. It can be purchased as a kit (Hull plus wood and glass for the deck) and it will be one of the choices for the boat building class.
There will be a size limit to the class of about 10 projects. We are also looking at a small sailing dingy (the British Moth). This boat will be offered as a kit for the St. Louis Sail and Paddle class.
If you are interested in these classes. Please inquire about them.
(To see our current SUPs, click on the SUP's link in the menu bar.)
Thanks,
David Kreutz
314 308-3753
| Swallow tail SUP |
| Plug molding: SUP's nose |
Wednesday, July 18, 2012
Carbon fiber molding
We bought a few yards of plane weave carbon fiber cloth to see what all the fuss is about.
We have used carbon fiber tape in all the ferrules and throats of our blades. It seemed to raise the breaking strength of the ferrule but we haven't gotten scientific about destructive testing yet.
But low and behold, blades made exclusively with CF are noticeably stiffer and over 2 oz lighter.
Here is the cloth we are using:
Tuesday, July 10, 2012
Sailing the canoe
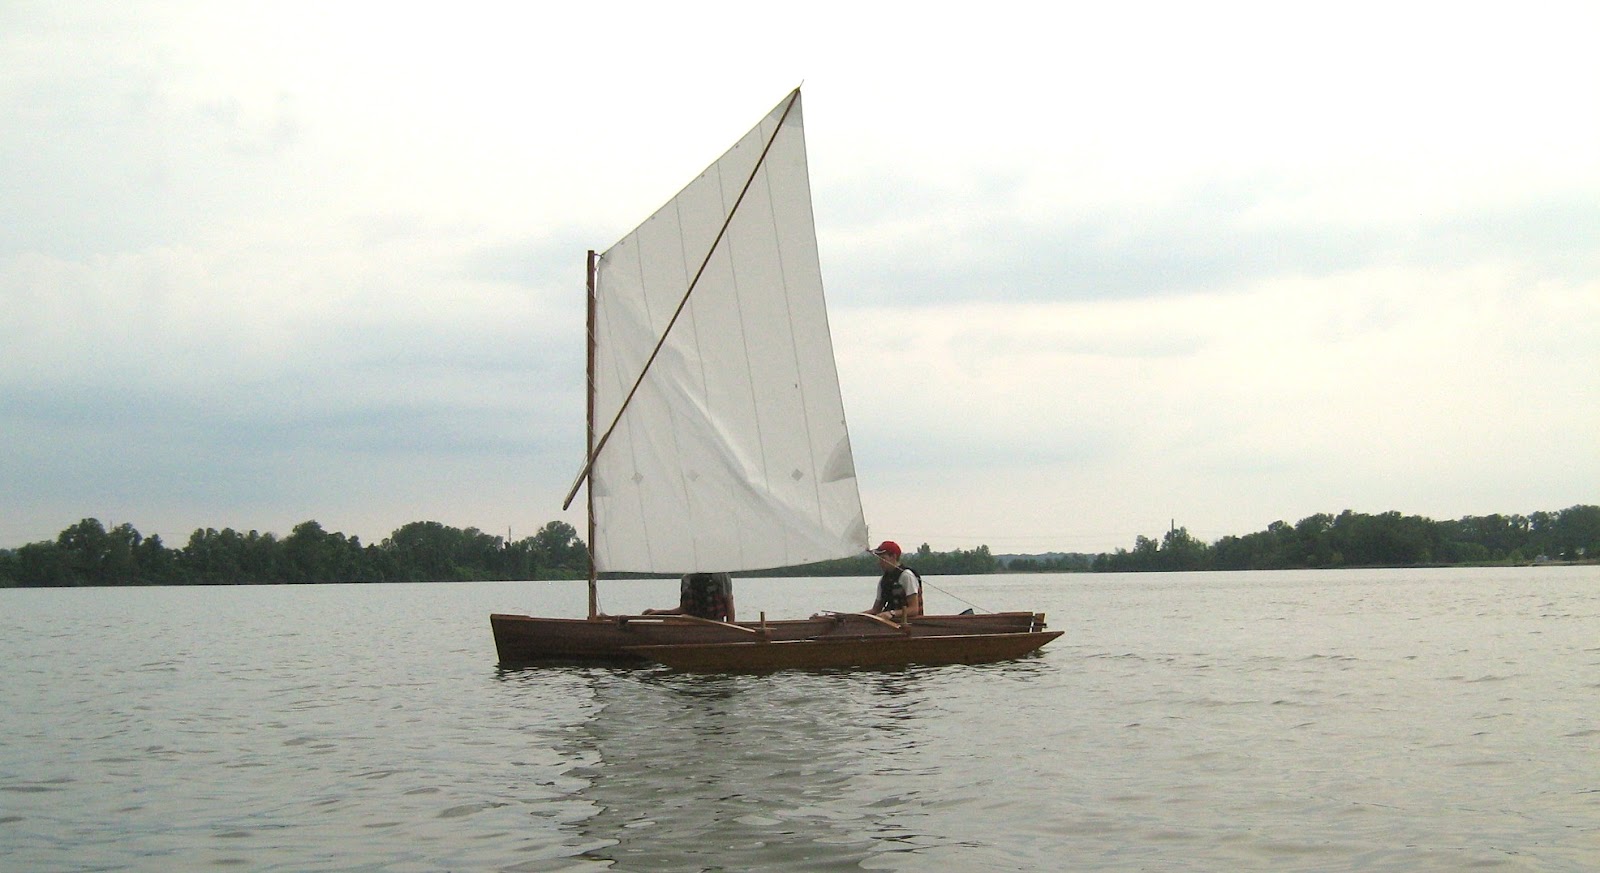
We took the canoe out on a brief test sail with it's new sail. The wind started out fluky then a stiff breeze kicked in before a thunderstorm arrived. The sail performed well and the canoe scoots.
Here are some photos:
Friday, July 6, 2012
Fitting the sail
We set up the sailing canoe in the yard today to fit the sail.
The mast was built to fit the luff of this particular sail (Sailrite's Footloose kit). The tack of the sail sits at a good height so the forward seating position is usable and comfortable without having to dive under the sail when coming about.
We new that we were going to have to get creative with the rigging for the main sheet. Since there is no boom on this sail, there is no mid-boom sheeting which would work well. It looks like we will place a sheave on a swivel on the stern deck and lead the sheet forward.
We will try this arrangement and see how we like it.
To finish the sail we placed #4 grommets in the corners of the sail and #1 grommets up the luff.
Wednesday, July 4, 2012
Sailrite sewing
Like a lot of the country we are in the middle of a heat wave. Fortunately we still have power. I hope the east coast gets back on line soon. The plus for us is it is getting us to accomplish some inside tasks that have been put off. The best item is tackling the Sailrite kit.
The sail we are sewing is for the sailing canoe. It is a 16 foot woodstrip / epoxy boat with ikos and an outrigger. We designed and built the boat as well as it's birdmouth wooden mast. The rig is designed to fly a Footloose sail. This is a sprit sail designed for the Footloose skiff. It is an existing kit carried by Sailrite and it was the square footage we were looking for.
Sailtire is a great company. The kits are well though out, include everything and the instructions are well written.
Today we should finish the sail. In all, it will have taken about 6 hours to complete. Here are some photos. We will post more images when we raise the sail.
Monday, July 2, 2012
Fishing expedition with the River Skiff
Subscribe to:
Posts (Atom)